Learn the tools

Go deep on every panel

One guide per panel — what it does, what to do with it, and the color science behind it. For readers who want to learn, not just click.

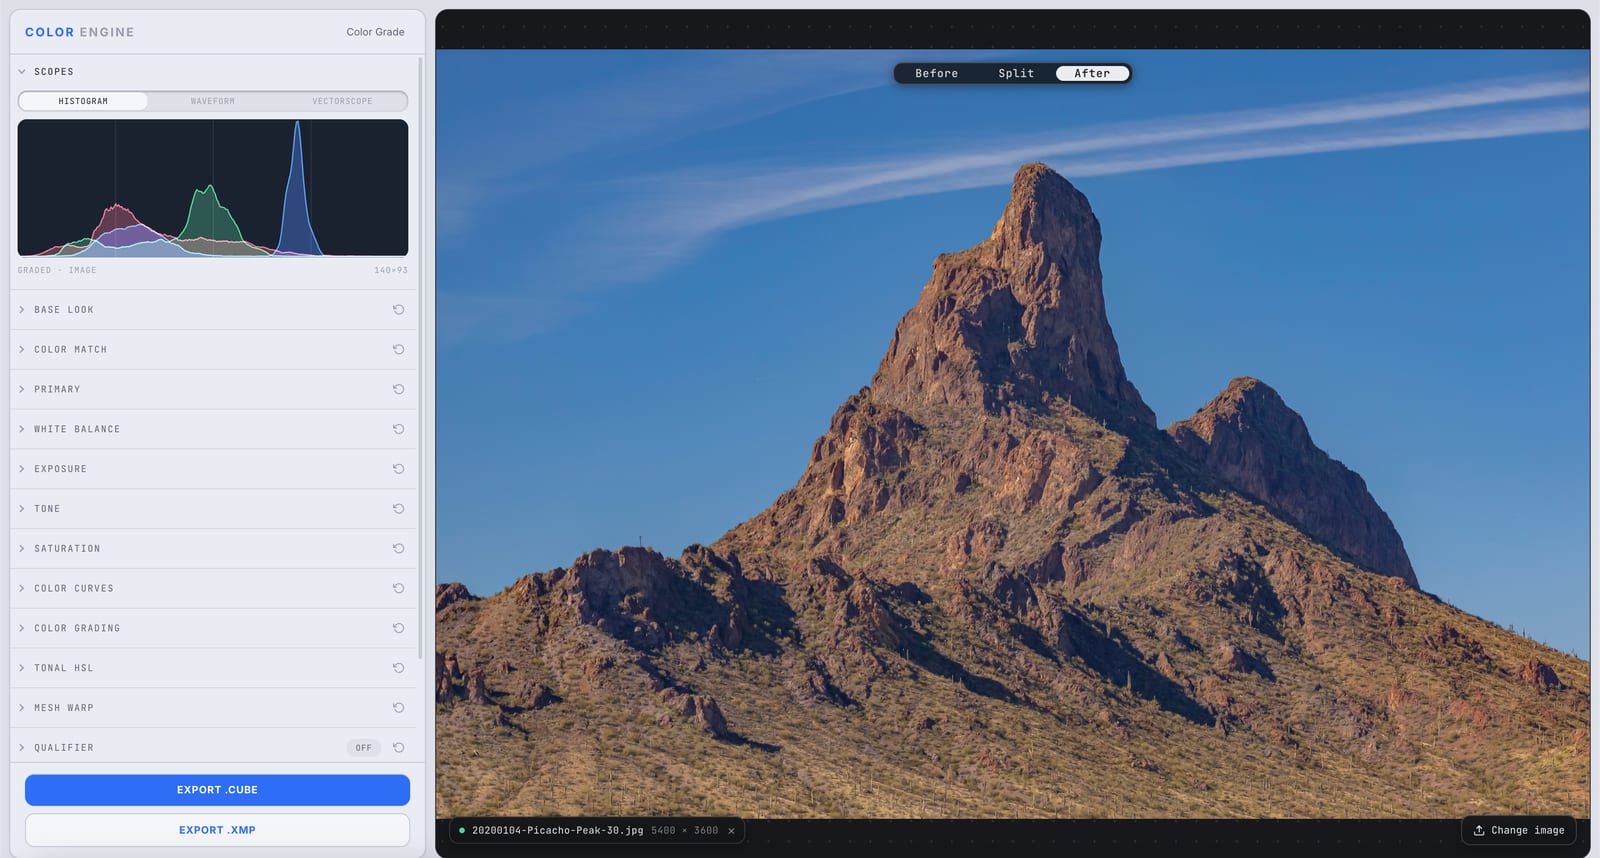
Color Engine's Scopes panel showing the RGB histogram of a graded desert mountain photo
Feature

Scopes

Your monitor lies — ambient light, eye fatigue, and a screen that drifted out of calibration all push you to grade by feel. Scopes show you the truth: an objective read of exposure, balance, and saturation, so your looks hold up on every screen but your own.

Read the deep-dive
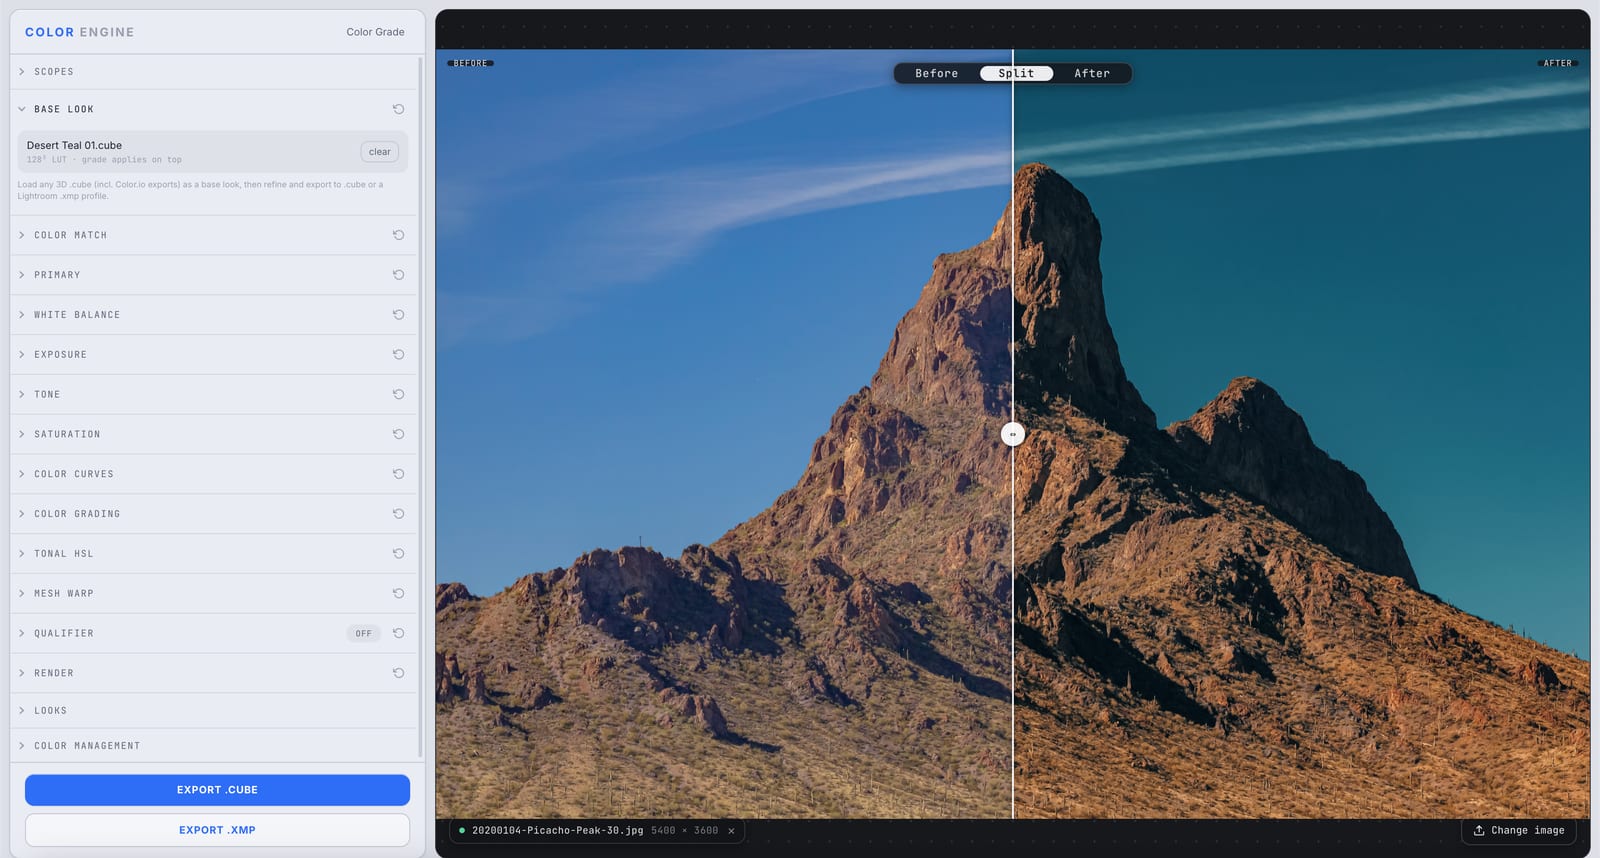
Color Engine's Base Look panel with a Desert Teal .cube LUT loaded as the foundation, shown as a before/after split on a desert mountain
Feature

Base Look

Drop in a 3D LUT as your foundation — a film emulation, a creative look, a Color.io export — and grade on top of it. Base Look is the starting point everything else builds on, baked through to your final .cube or .xmp.

Read the deep-dive
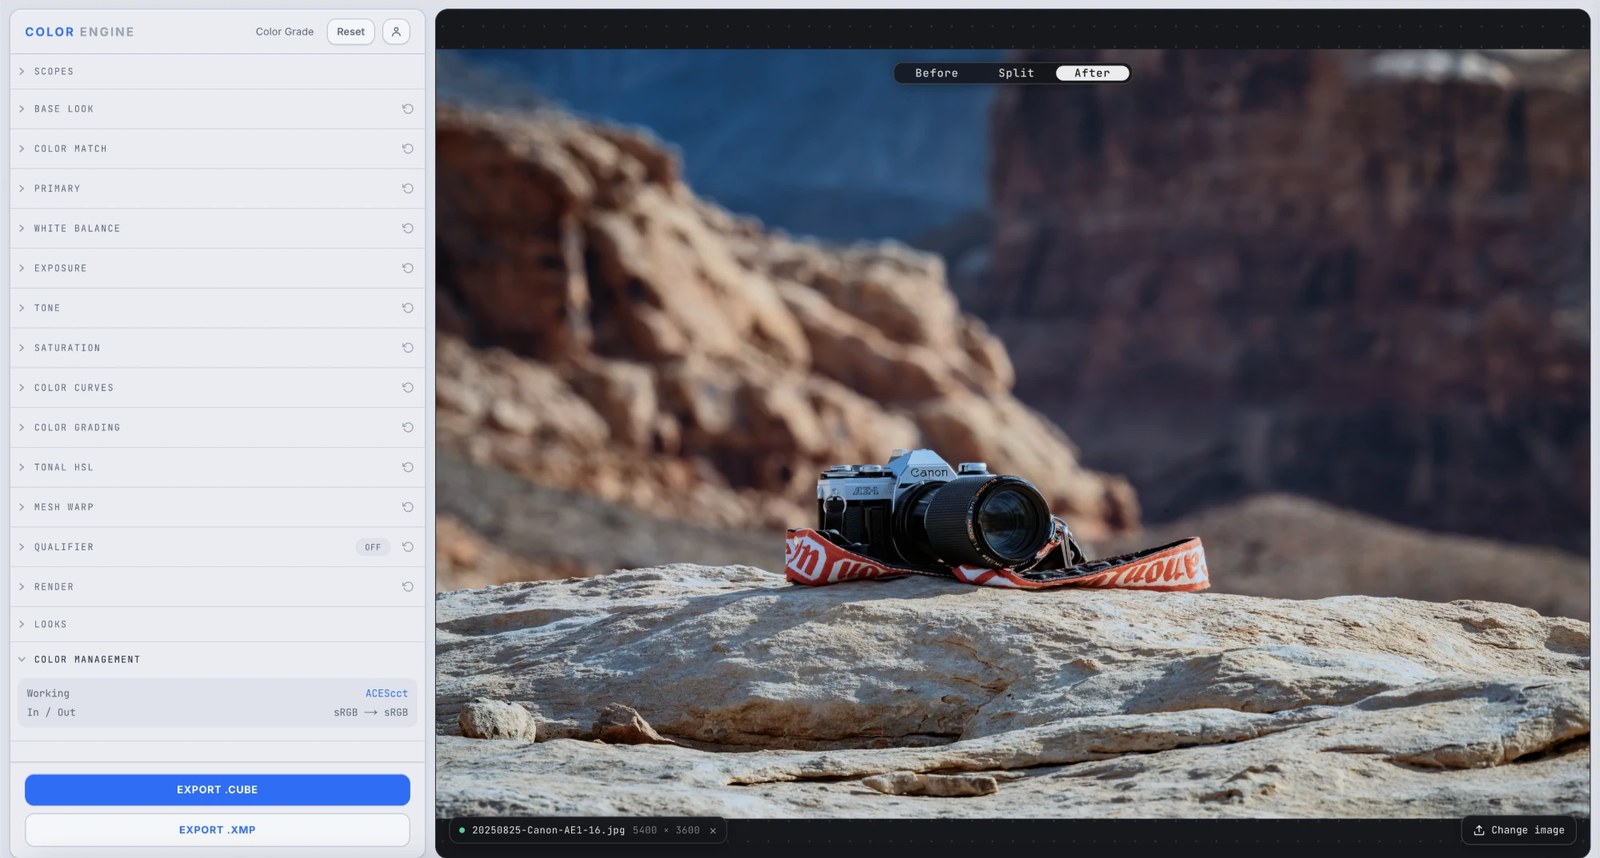
Color Match applying a warm Golden Haze grade to a photo of a vintage Canon AE-1 camera on a canyon overlook
Feature

Color Match

Point Color Match at a reference you love and it moves your image's whole palette to meet it — zone by zone, in the color space your eyes actually use. Not a filter sitting on top of your shot: a real transfer of the reference's color, baked into a LUT or preset you can take anywhere.

Read the deep-dive
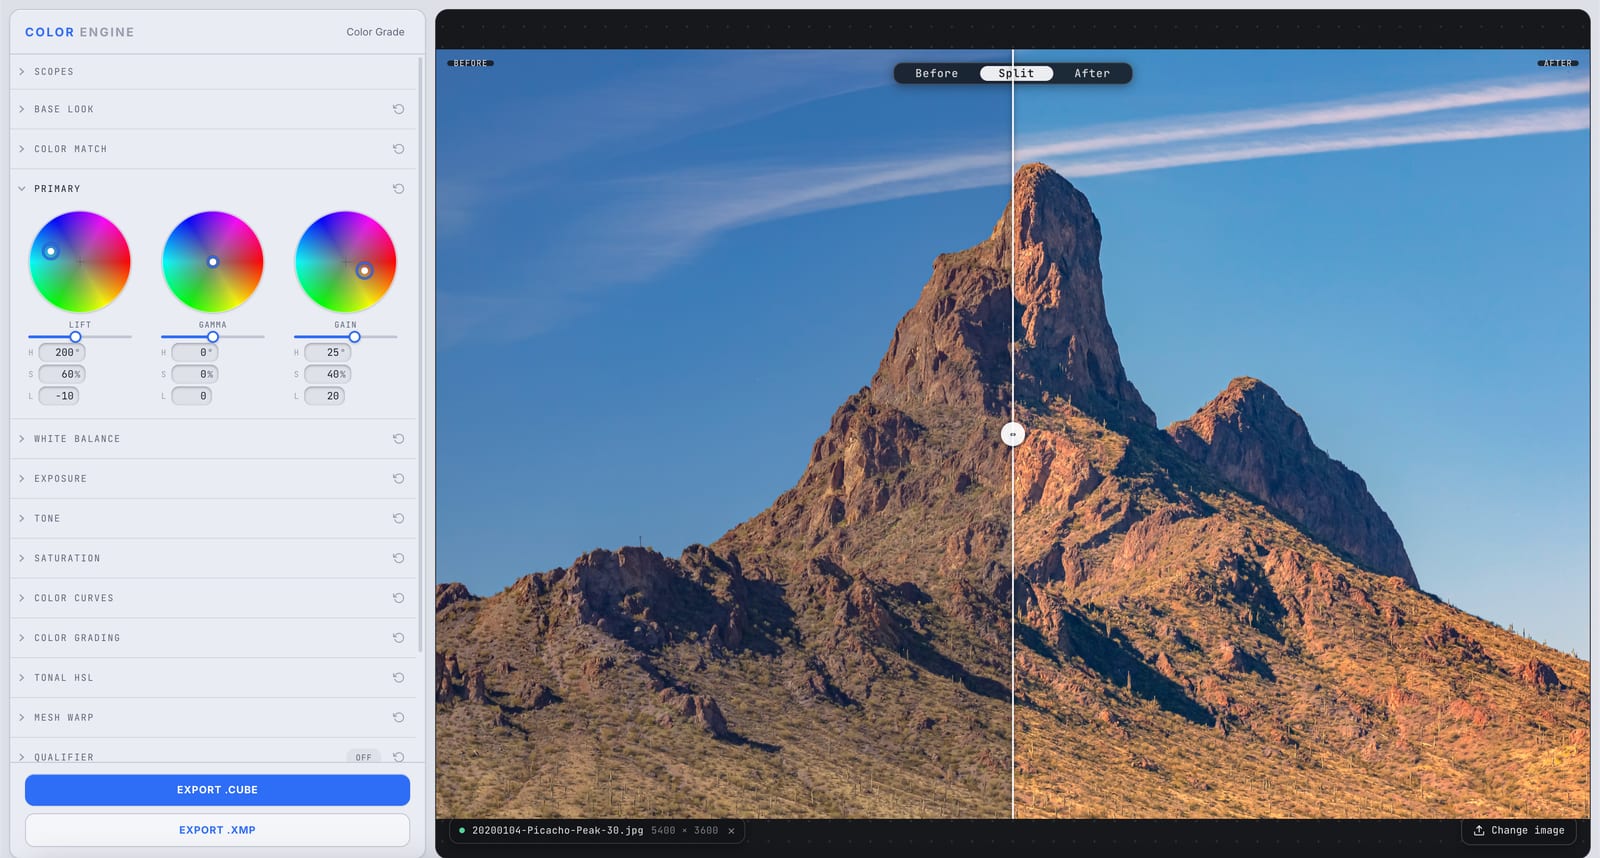
Color Engine's Primary panel with the Lift, Gamma, and Gain color wheels, shown as a before/after split on a desert mountain
Feature

Primary

The primary corrector — three wheels that push color and level into your shadows, mids, and highlights. Lift, Gamma, Gain: the foundational balance every creative move builds on.

Read the deep-dive
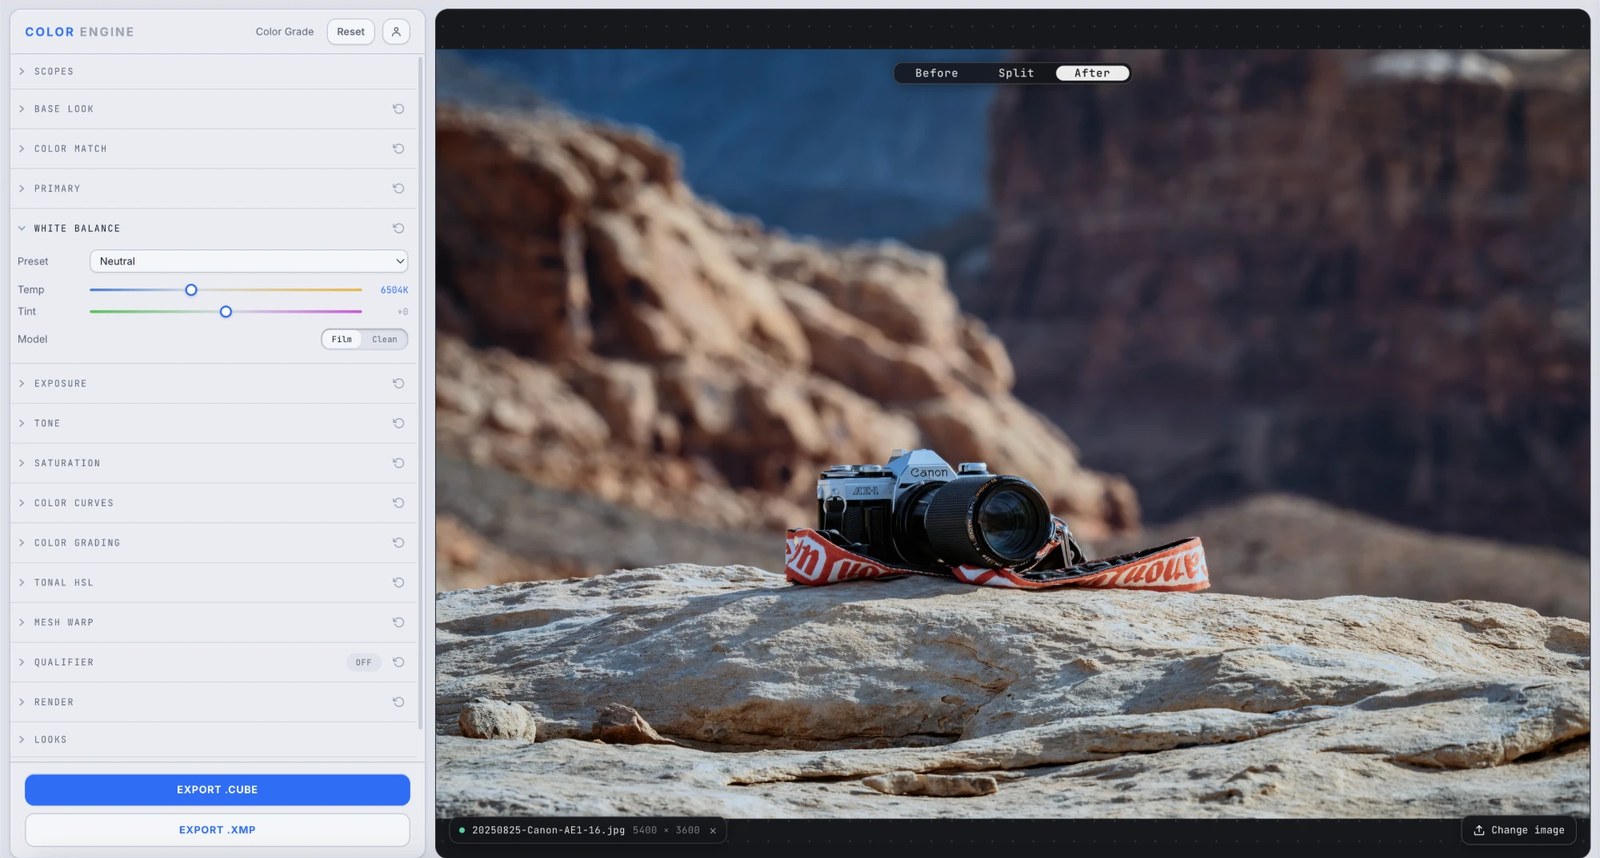
Color Engine's White Balance panel showing the Neutral preset at 6504K with Temperature, Tint, and the Film/Clean model toggle, over a desert canyon photo
Feature

White Balance

Before any look, the foundation: make white read white. White Balance corrects the color of your light — the amber of tungsten, the blue of shade, the green of fluorescents — with two simple axes, so everything you grade on top sits on honest color.

Read the deep-dive
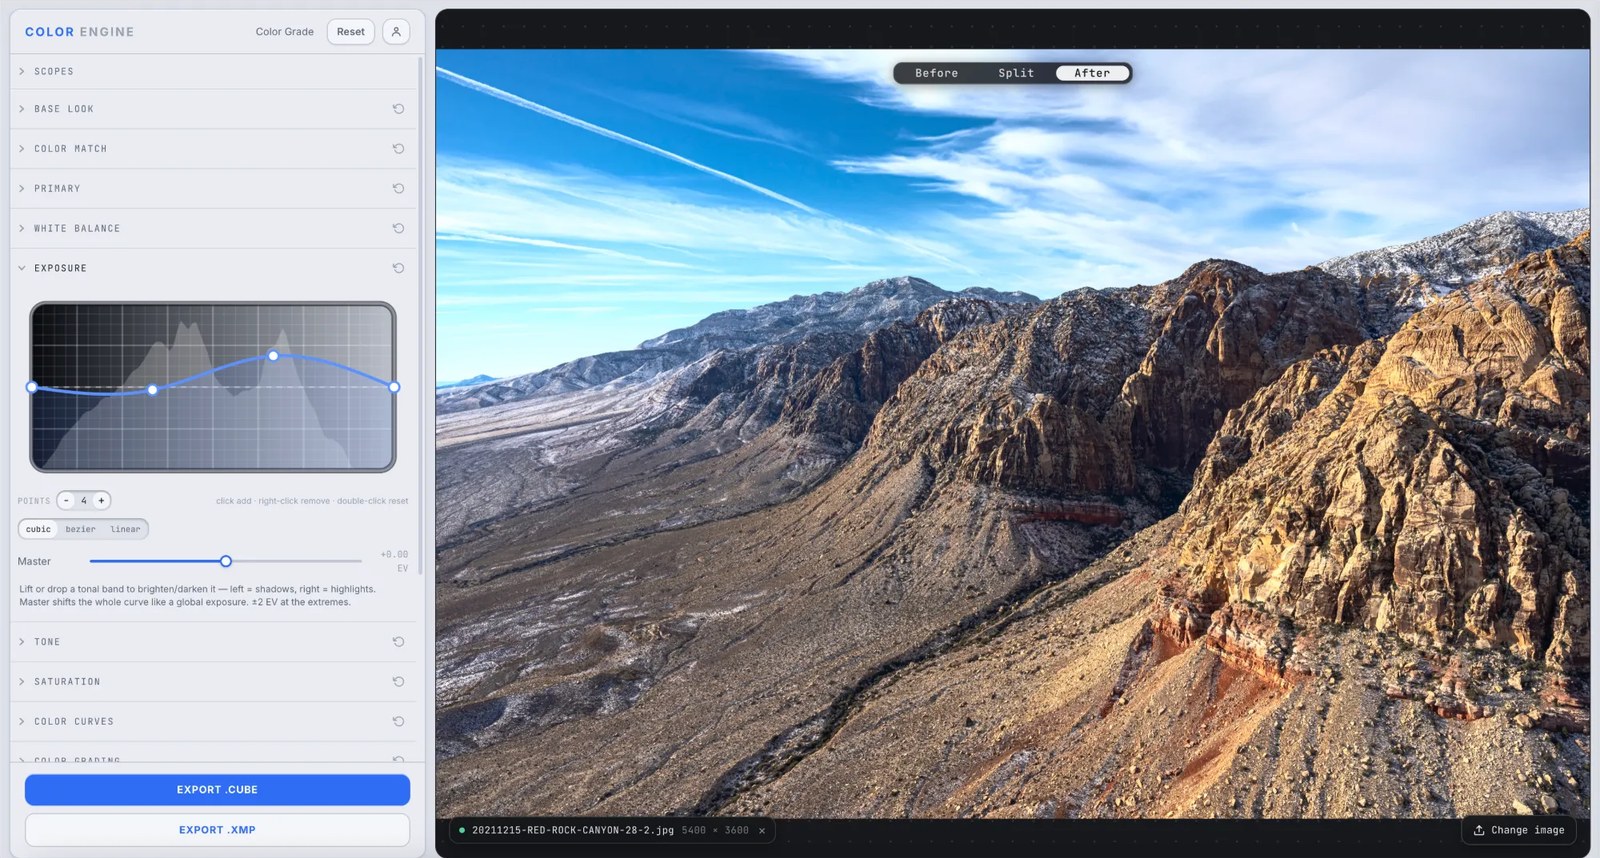
Color Engine's Exposure panel showing the tonal curve over a luminance histogram with a Master EV slider, over a red rock canyon photo
Feature

Exposure

Before color, brightness. Exposure is a tonal curve for light — lift or drop any band from shadows to highlights, or shift the whole frame with one Master EV move — so every grade after it has room to breathe.

Read the deep-dive
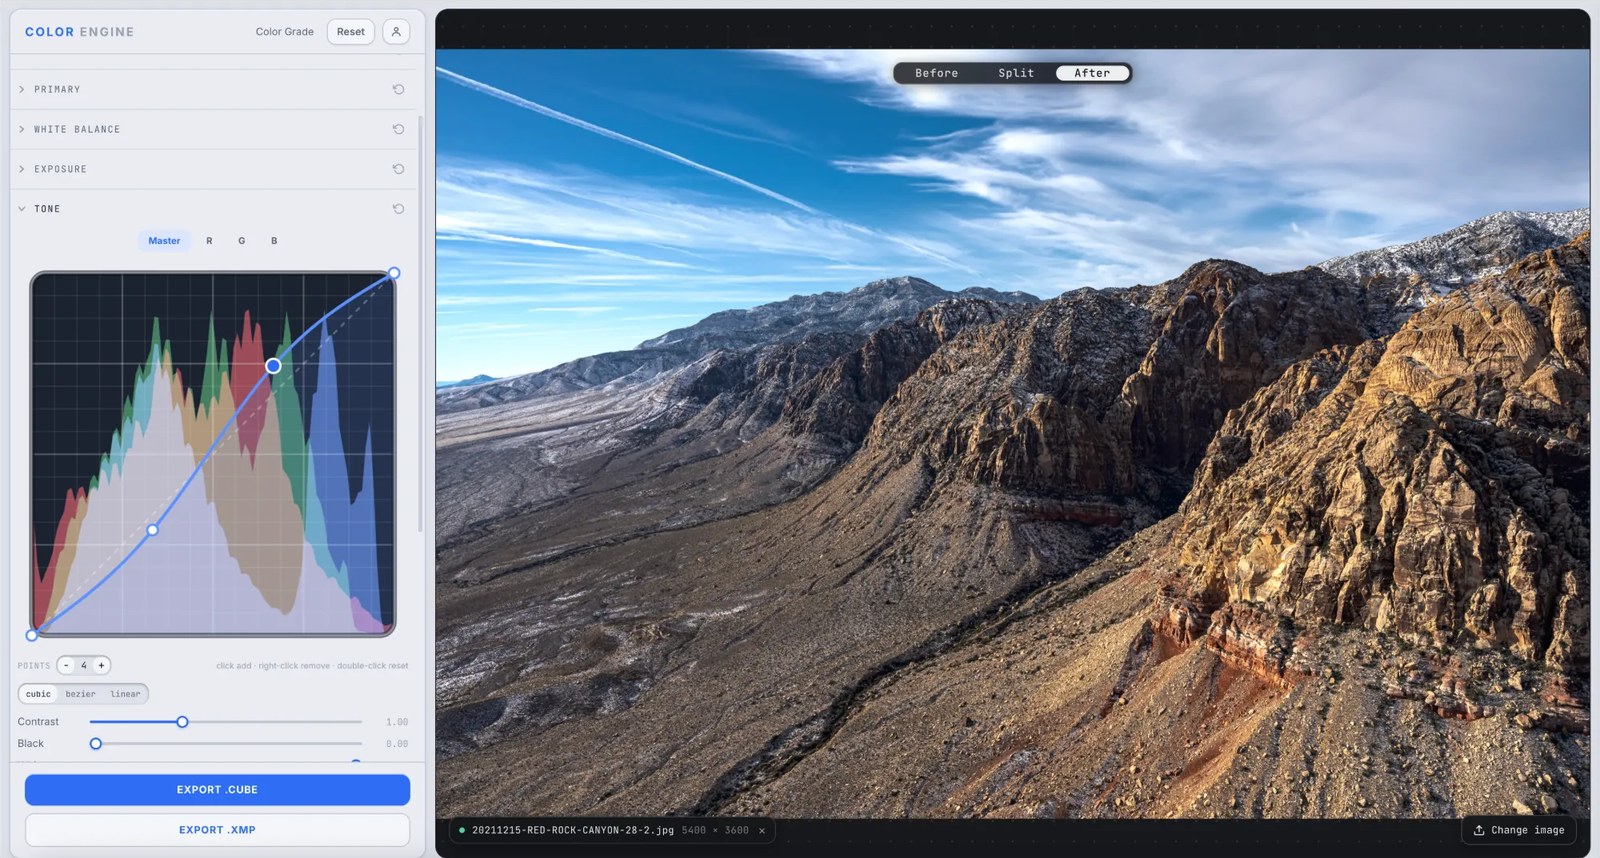
Color Engine's Tone panel showing the master tone curve over an RGB histogram with channel tabs and Contrast and Black sliders, over a red rock canyon photo
Feature

Tone

Exposure sets how bright; Tone sets the shape. A tone curve — master, or red, green, and blue on their own — plus quick Contrast and Black controls. This is where a flat capture gets its punch, or a harsh one gets tamed.

Read the deep-dive
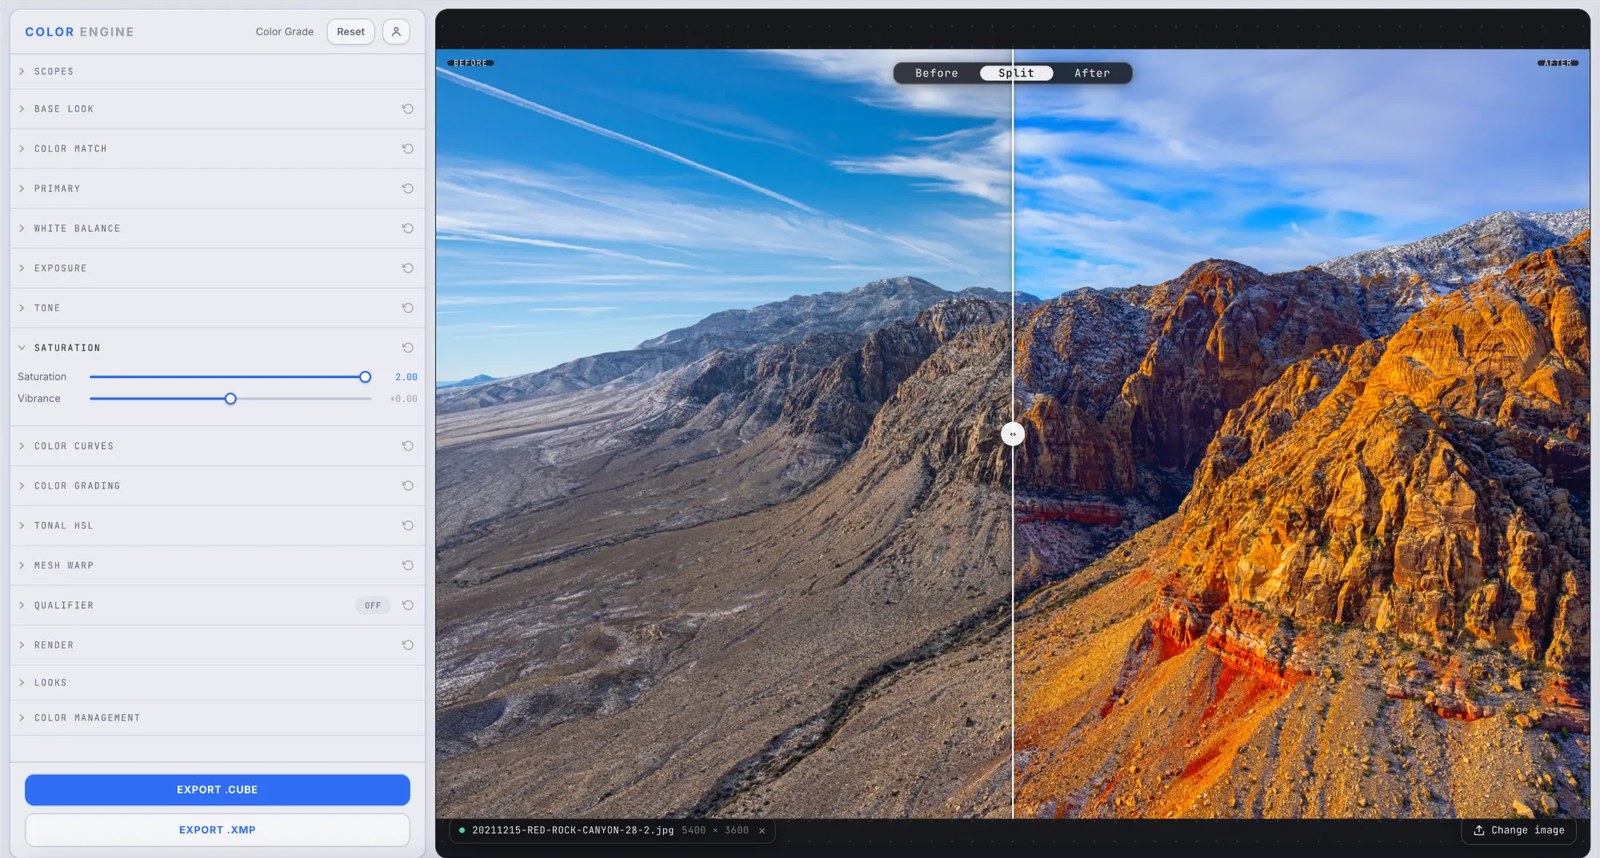
Color Engine's Saturation panel with Saturation and Vibrance sliders, shown as a before/after split on a red rock canyon photo
Feature

Saturation

Color, dialed up or down — but smarter than a single slider. Saturation sets how vivid your image reads, with a vibrance-style option that protects skin and the already-saturated from tipping into neon.

Read the deep-dive
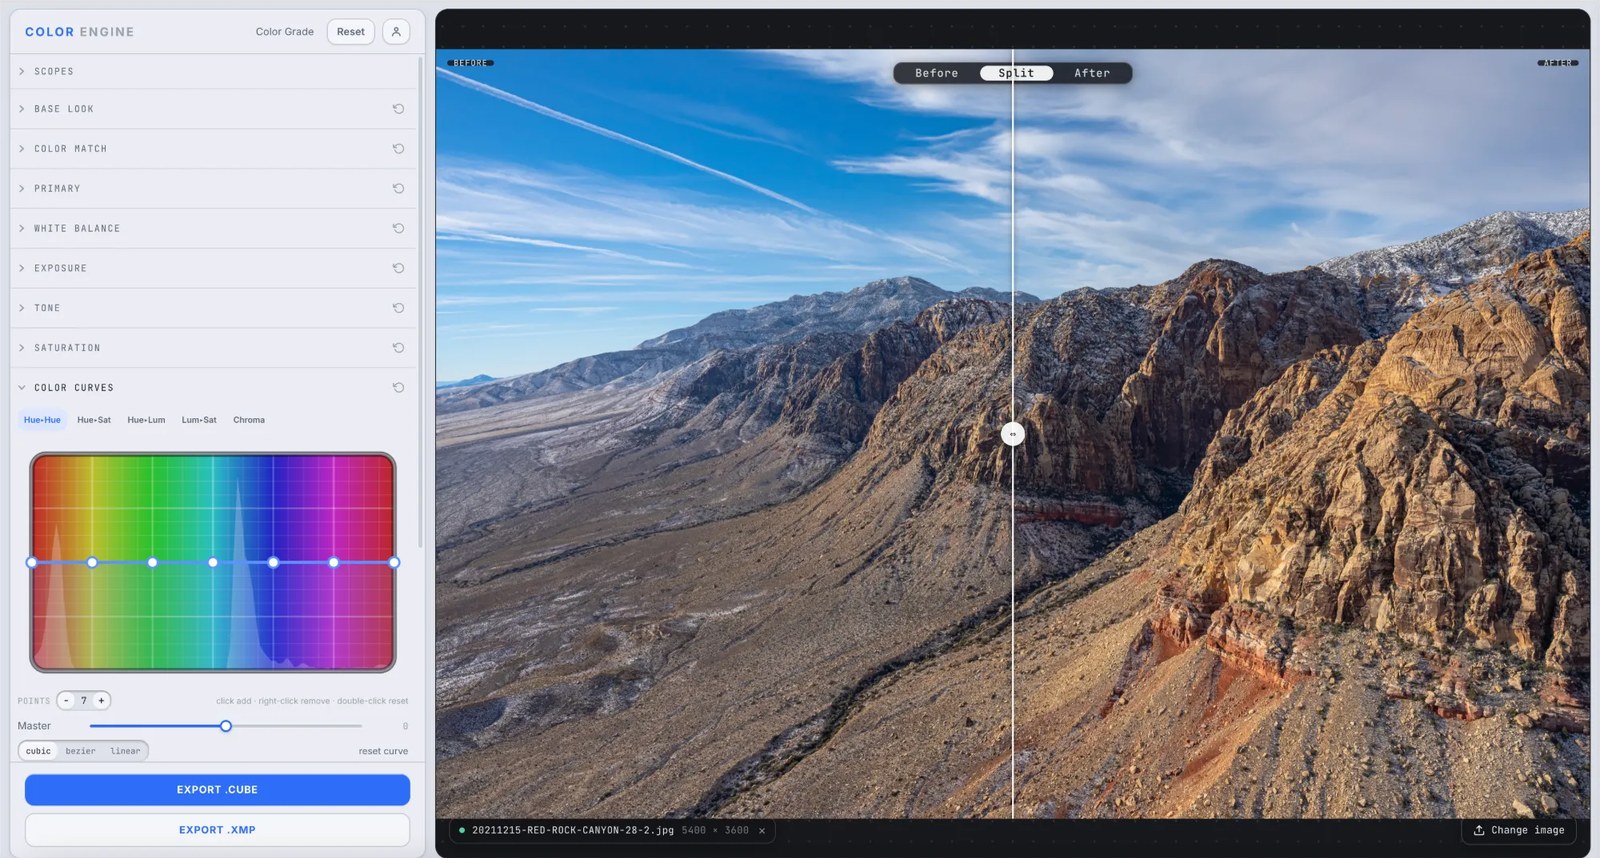
Color Engine's Color Curves panel on the Hue to Hue curve over a rainbow hue strip, over a red rock canyon photo
Feature

Color Curves

Five curves that work in color's own language. Rotate one hue toward another, mute just the greens, darken only the blues, pull saturation from the shadows, or rein in your loudest chroma — each a smooth, continuous bend across the spectrum.

Read the deep-dive
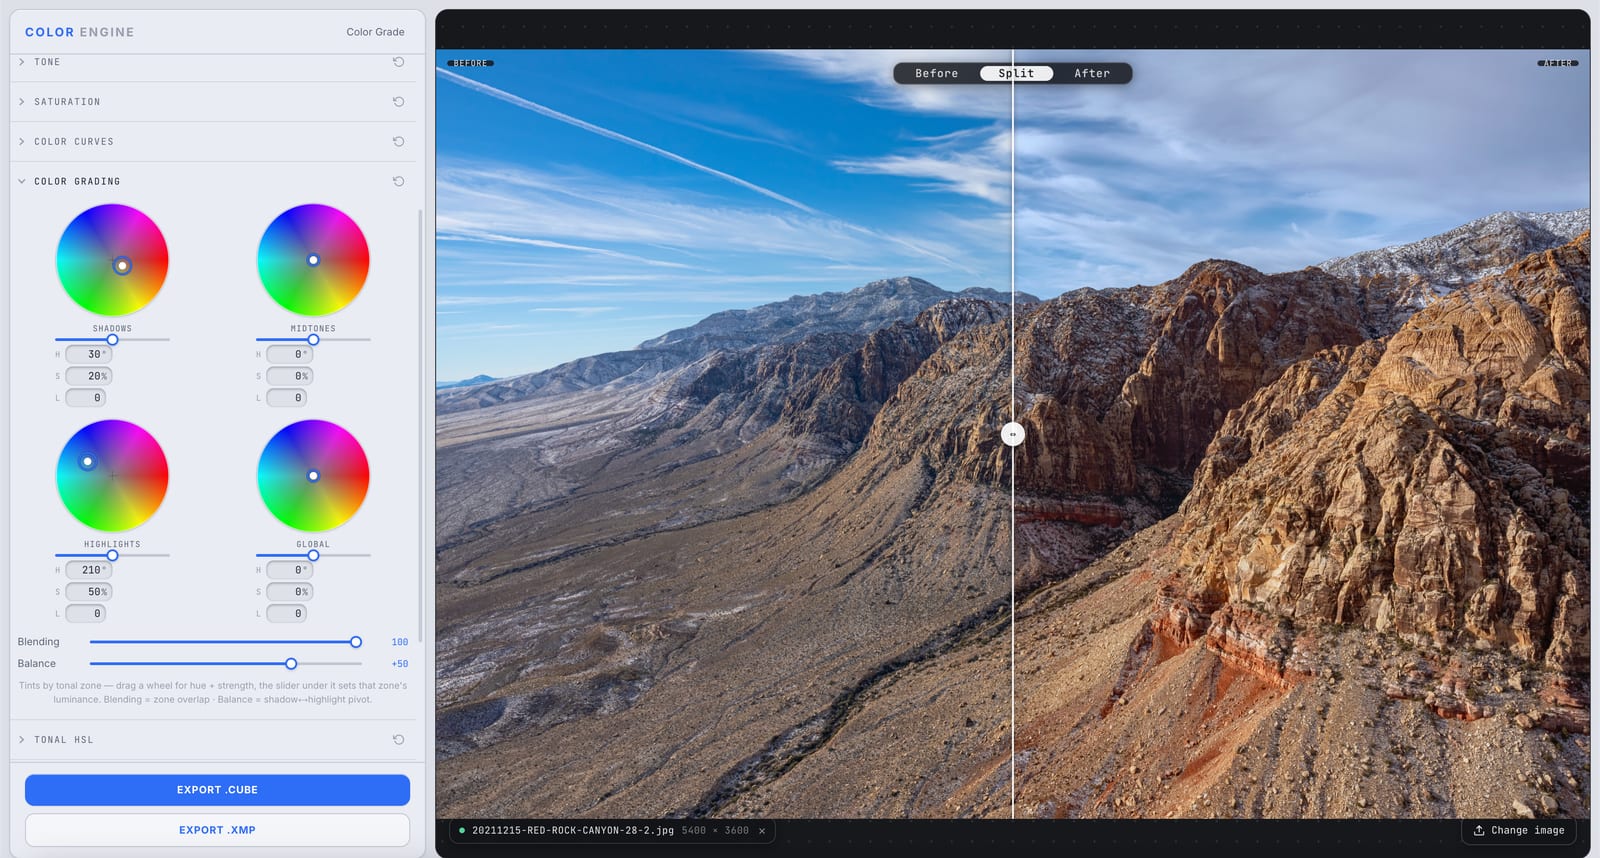
Color Engine's Color Grading panel with the shadows, midtones, highlights, and global wheels, shown as a before/after split on a desert canyon
Feature

Color Grading

The creative color layer: tint your shadows, midtones, highlights, and the whole frame independently. Drag a wheel for hue and strength, set each zone's luminance, then blend them into a signature look — teal shadows, warm highlights, the works.

Read the deep-dive
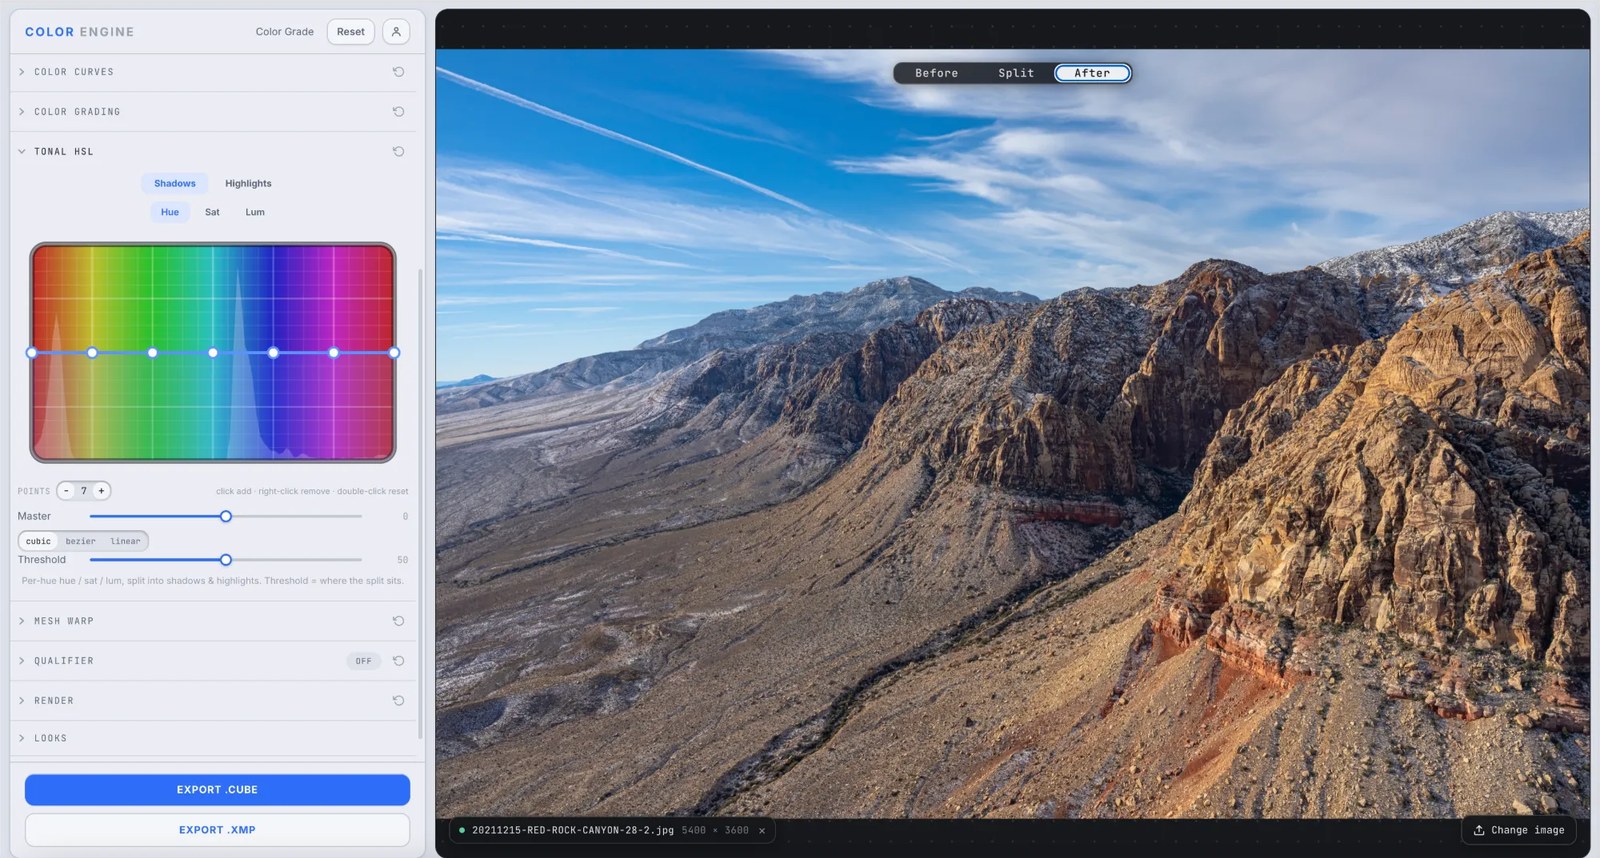
Color Engine's Tonal HSL panel showing a per-hue curve over a rainbow hue strip with Shadows/Highlights and Hue/Sat/Lum toggles and a Threshold slider, over a red rock canyon photo
Feature

Tonal HSL

Bend the Hue, Saturation, or Luminance of any color you point at — and do it separately in the shadows and the highlights. A blue sky and a blue shadow can go two different ways, no masks required.

Read the deep-dive
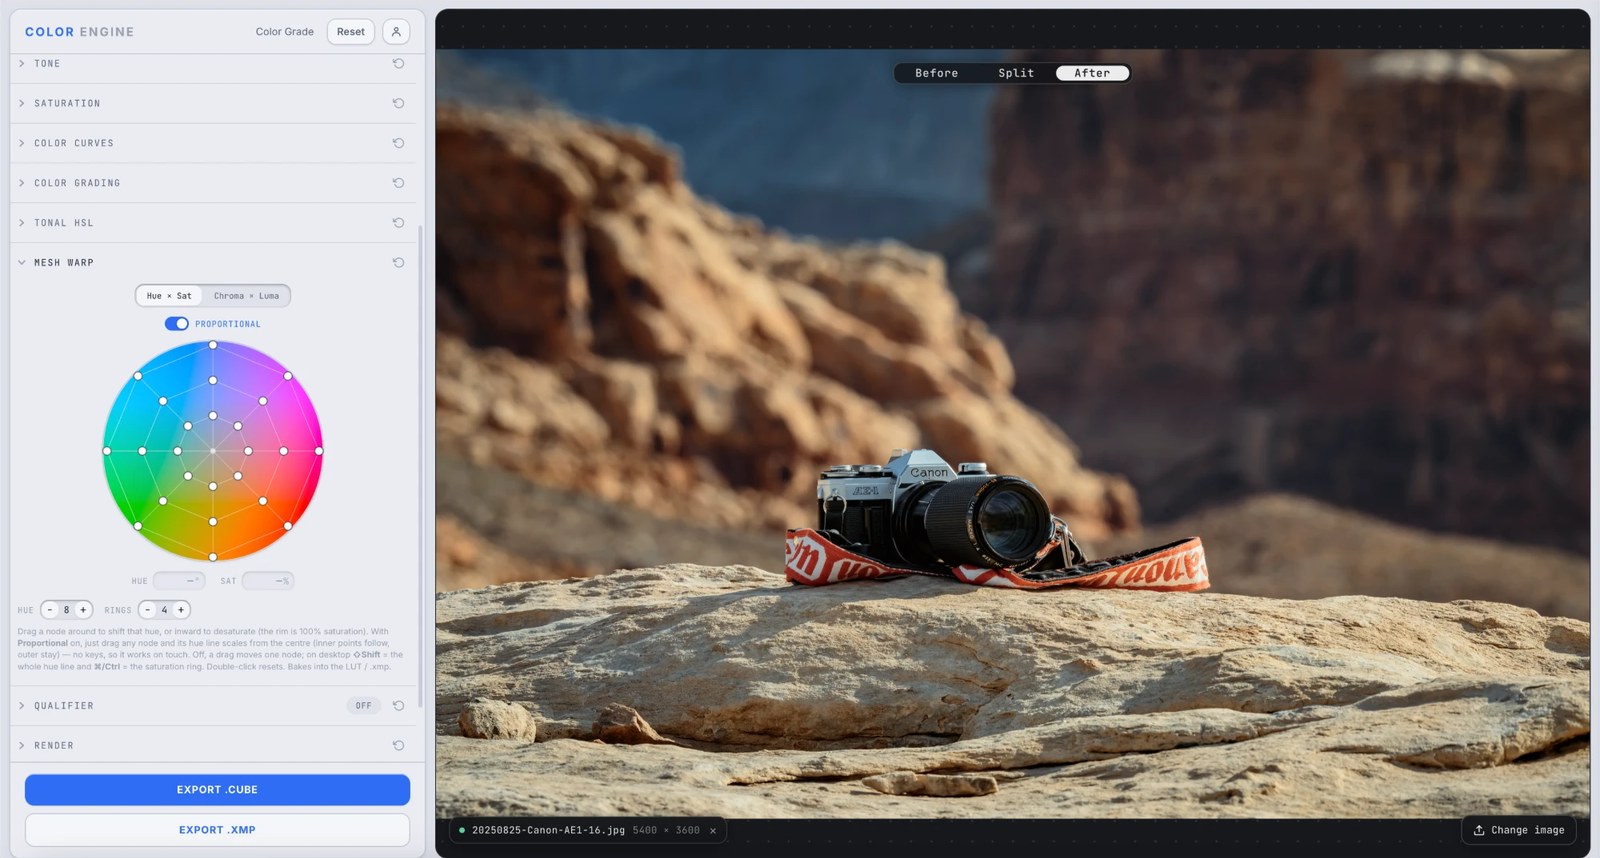
Color Engine's Mesh Warp panel showing the hue/saturation color wheel with a draggable node mesh, over a desert canyon photo
Feature

Mesh Warp

A grid laid over the color wheel, every node draggable. Push one hue without touching its neighbors, pull a region inward to desaturate, reshape the whole color space directly — the most surgical color tool in the studio.

Read the deep-dive
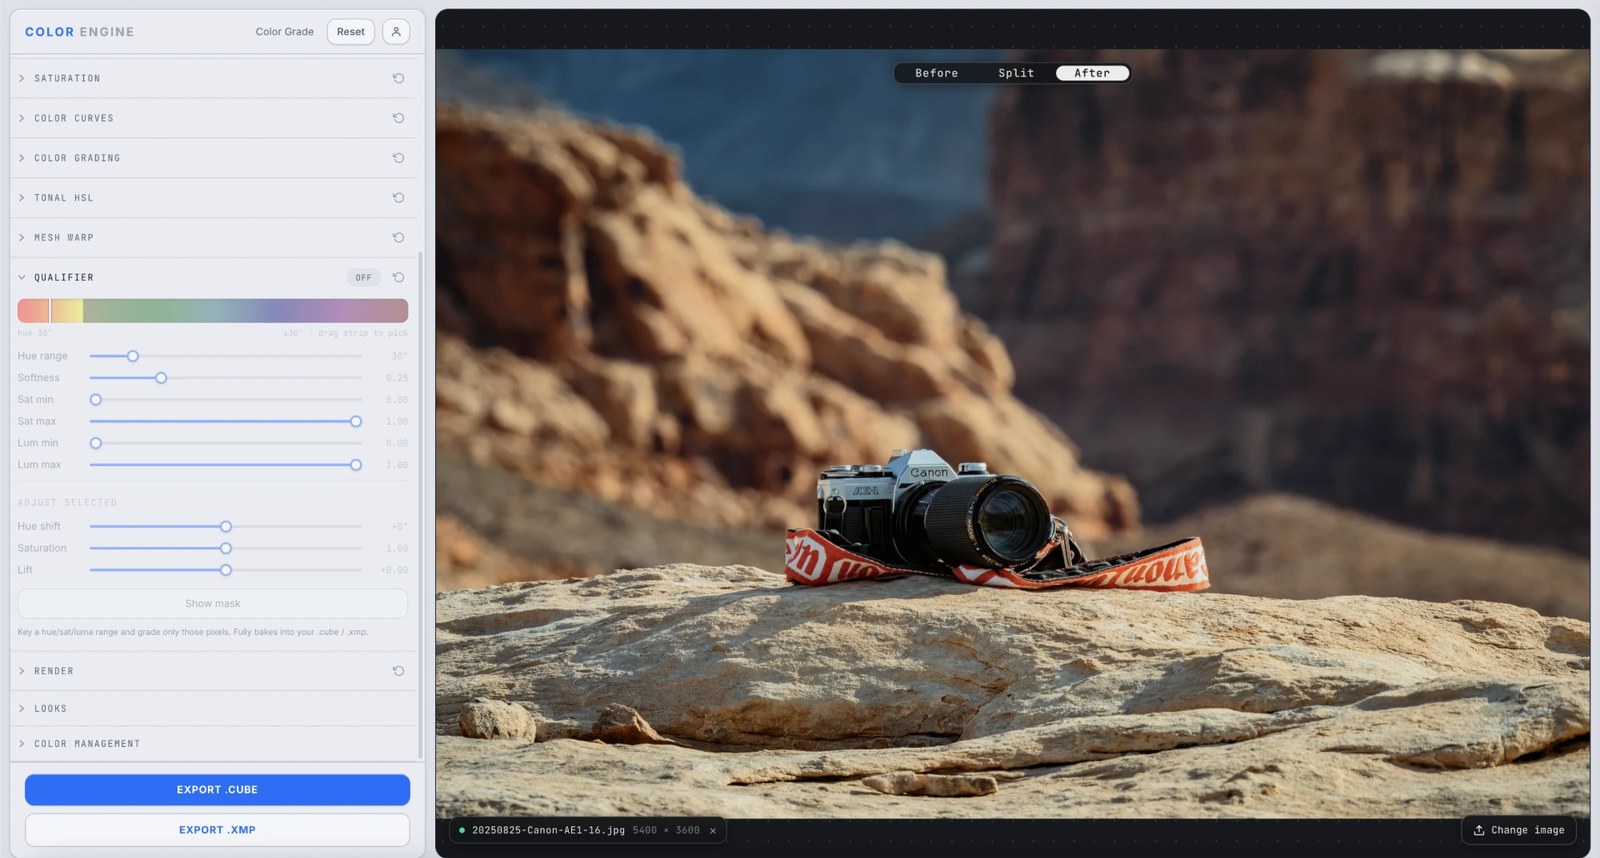
Color Engine's Qualifier panel with the hue strip, saturation and luminance range sliders, and the Adjust Selected controls, over a desert canyon photo
Feature

Qualifier

Point at a color and pull it out of the image — a precise key by hue, saturation, and luminance — so your next move touches only the sky, the shirt, the skin, and nothing else. The qualifier is how a grade gets surgical.

Read the deep-dive
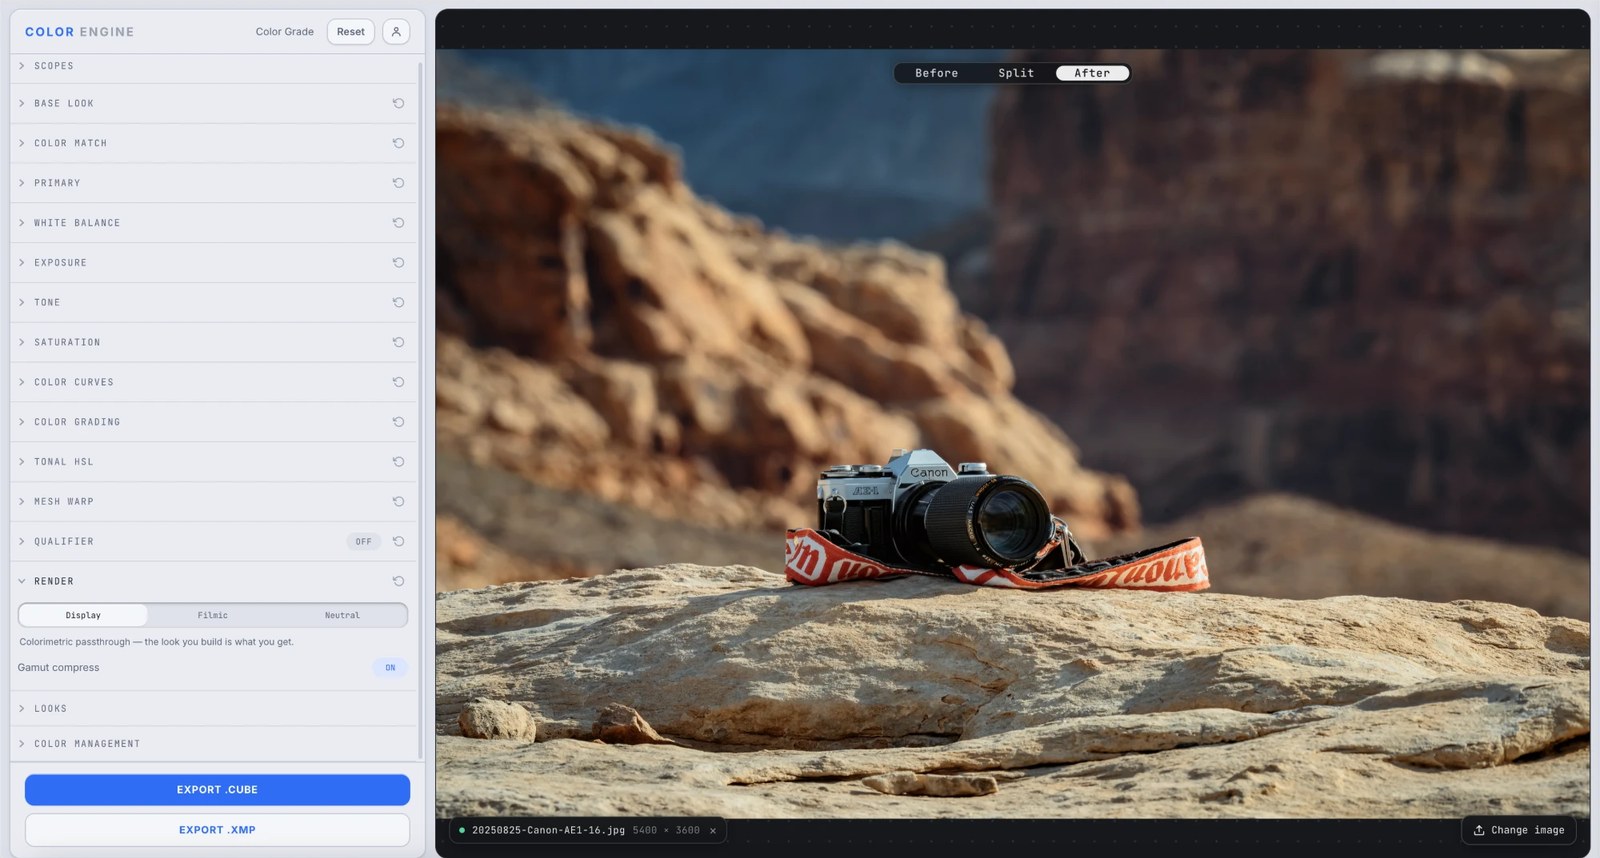
Color Engine's Render panel set to Display, a colorimetric passthrough, over a desert canyon photo
Feature

Render

The final transform between your grade and the display — it decides how bright, saturated colors behave as they approach white. Colorimetric, filmic, or hue-preserving, with gamut compression to keep everything in-bounds.

Read the deep-dive
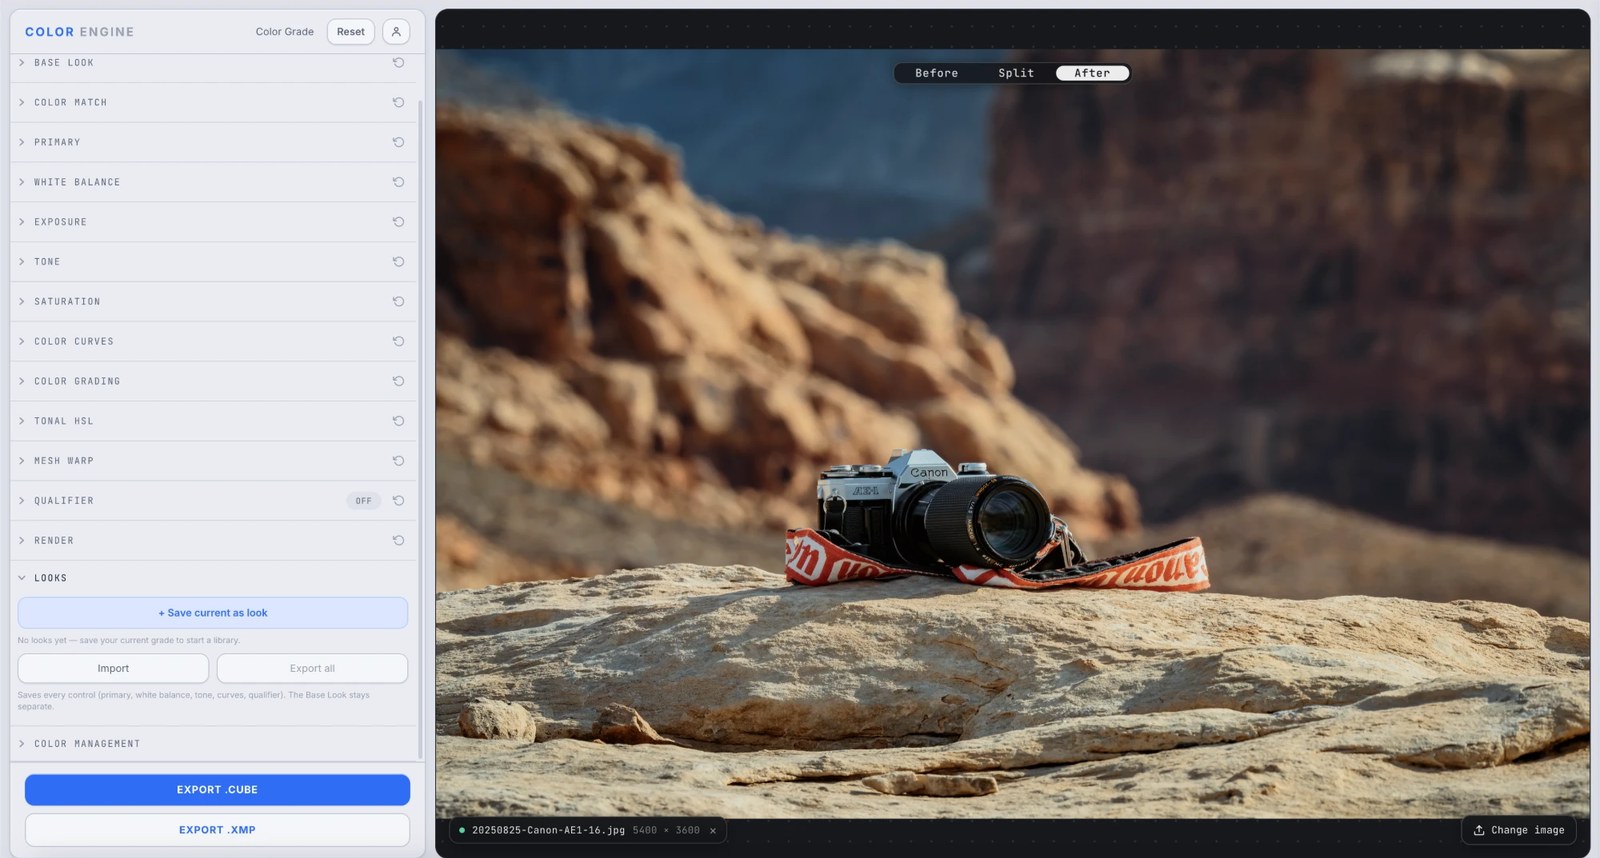
Color Engine's Looks panel for saving, applying, importing, and exporting color grades, over a desert canyon photo
Feature

Looks

Build a grade you love, save it as a look, and reuse it across shots and projects. Looks is your personal preset library — every control captured, ready to apply, import, and share.

Read the deep-dive
Color Engine's Color Management panel showing the ACEScct working space and sRGB-to-sRGB input and output transforms, over a desert canyon photo
Feature

Color Management

Color Management is the pipeline the rest of the studio runs inside. It reads your source, converts it into a wide-gamut space built for grading, and renders the result back out to wherever the image is headed. You'll rarely open it — but every slider you do touch depends on it.

Read the deep-dive